Flexijet
EFFICIENT & TIME-SAVING
Inaccurate measurements and number transpositions are history. No templates or hand sketches and no need to note measurements – you will immediately see what you have measured.
FLEXIBLE DATA TRANSFER
A variety of export interfaces allow the transfer of complete CAD drawings to almost any planning software.
RELIABILITY FOR YOUR PROJECTS
Planning, design and manufacturing are based on reliable data. Modifications during assembly are reduced to a minimum.
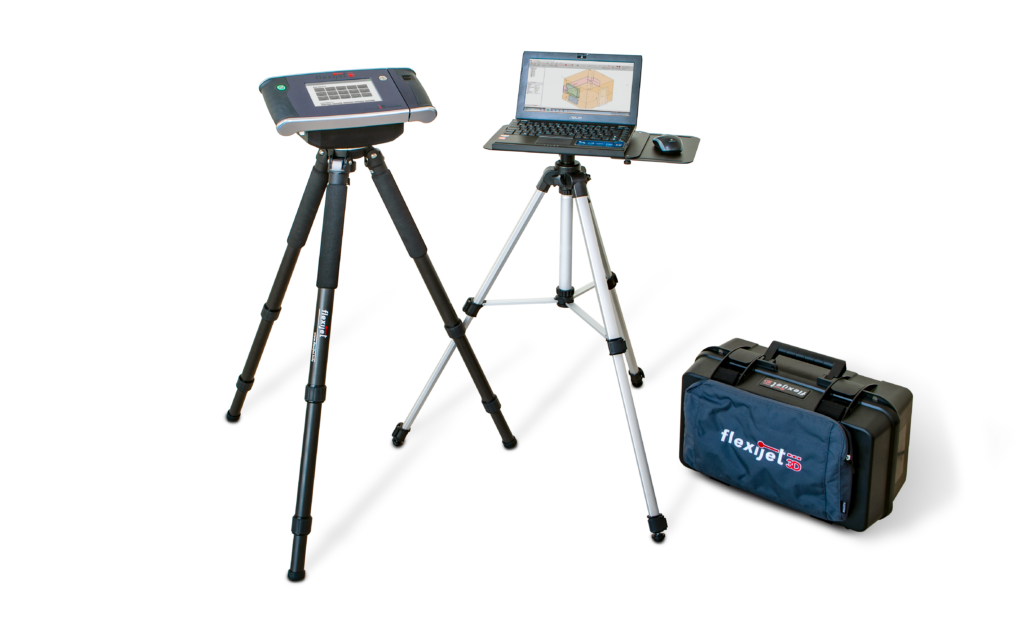
Flexijet 3D
The latest generation of Flexijet 3D – even more efficient! Measure on-site accurate CAD drawings. So your measuring task becomes a child’s play.
Record and project millimeter-accurate CAD drawings with exact angles and curves on site. With the rear-projection function, additional CAD points from your planning can be projected (back) on the construction site, so the laser measuring system also facilitates your assembly work.
With Flexijet 3D, literally everyone can quickly, efficiently and cost-effectively take measurements and assess dimensions accurately to the millimeter precise, and insert the data directly into CAD. Whether you are a beginner, an all-rounder or a CAD specialist, with Flexijet 3D you benefit from the principle of “measurement drawing”, which offers you a multitude of advantages over conventional measuring techniques and point clouds from laser scanners.
Inaccurate measurements or transposed digits are a thing of the past. You do not need to make notes of measurements because you can see what you’re measuring right away on the display. The possibility to include photos and audio notes in the measurement drawing offers you integrated documentation on site. You can easily work in difficult locations without scaffolding, ladders or other helpers.
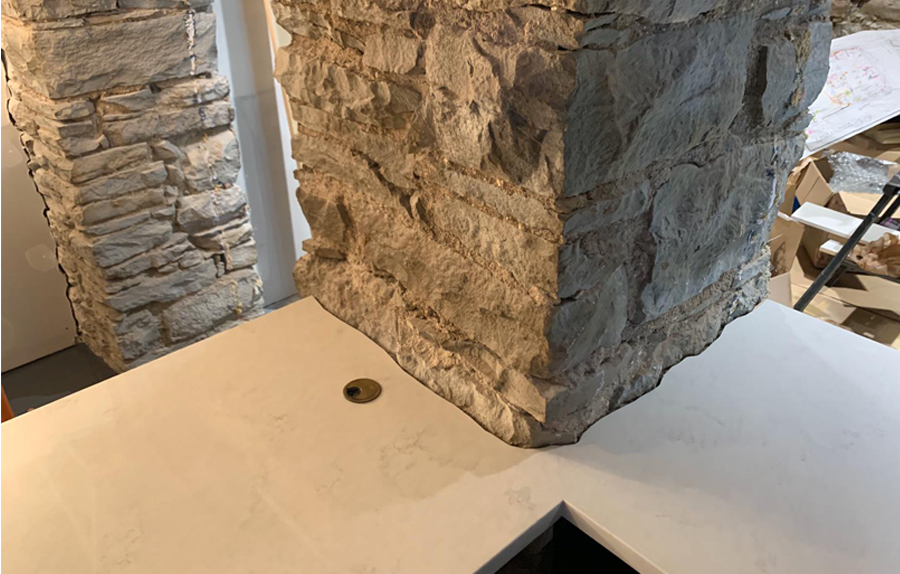
Measure furnished rooms without having to move irritating furniture. Roundings, arches and non-angular components can be detected quickly and precisely. Thanks to the projection function, you can also use Flexijet as an assembly aid. The application possibilities of the Flexijet 3D are just as versatile as the users who use this revolutionary laser measuring system.
“Measurement drawing”
– instead of scanning
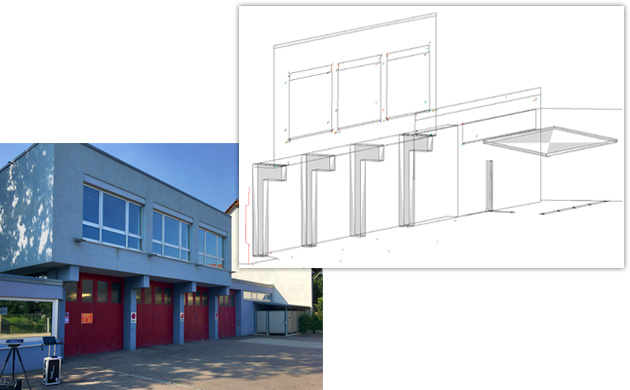
In contrast to other measuring systems, Flexijet 3D does not provide a confusing cloud of points. Instead, the measuring points are directly linked to meaningful arrangements using CAD drawing commands. The finished CAD drawing is produced during on-site measurement, without lengthy post-processing, as is necessary with point clouds.
In the process, “measured” elements such as walls, doors, arches or entire room situations are created as precise three-dimensional CAD drawings on site, during which measurements are taken.
Before leaving the construction site, check the finished CAD model by comparing it with reality and make sure that all dimensions relevant to planning have been recorded.
Rapid Site Measurement
– Wall contours of a room are quickly documented
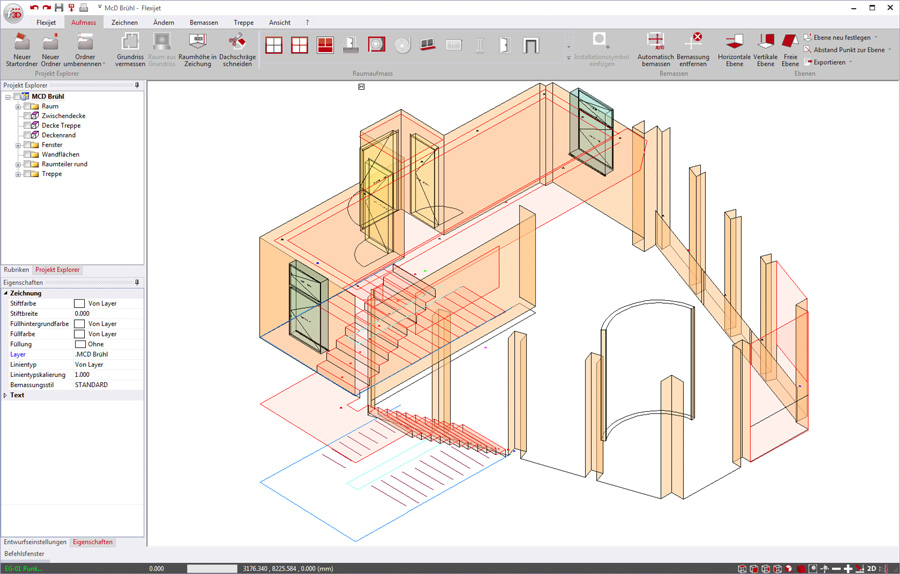
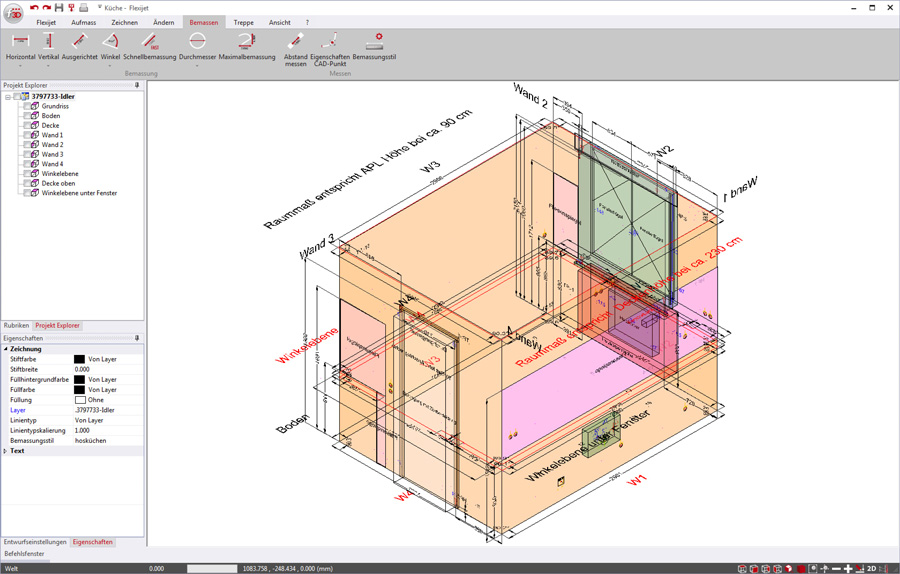
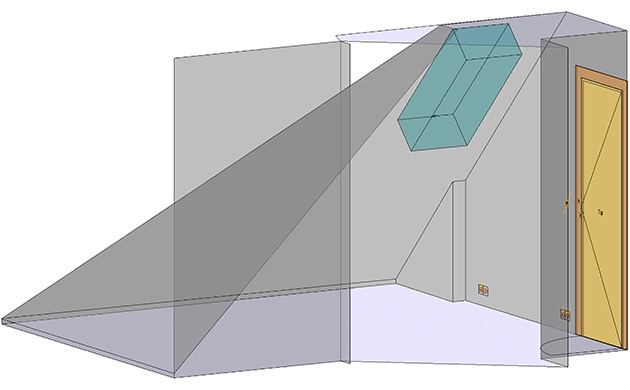
A three-dimensional space is created in the measuring software. With only a few measuring points, exactly two points per wall surface and one point each on the floor and ceiling.
 For this purpose, it is not necessary to set the measuring points in the room corners. The software automatically cuts the straight line of a wall off as it reaches the extended straight line of the adjoining wall. All angles of the walls connecting to each other are accurately detected during the swift site measurement.
The rooms can be completed as required by measuring other room elements, such as roof slopes, doors, windows, and also the insertion of installation symbols for various media.
Change of location
– Take measurements without limitations
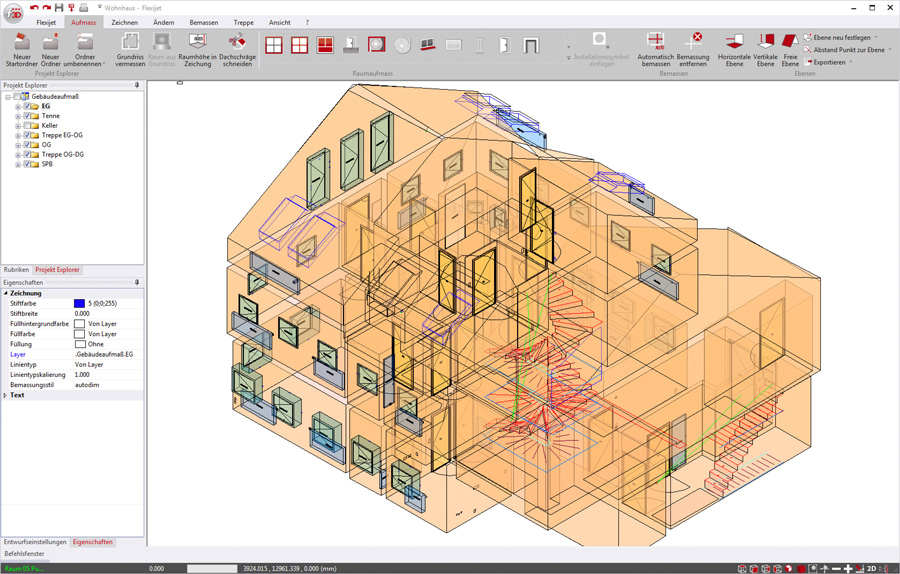
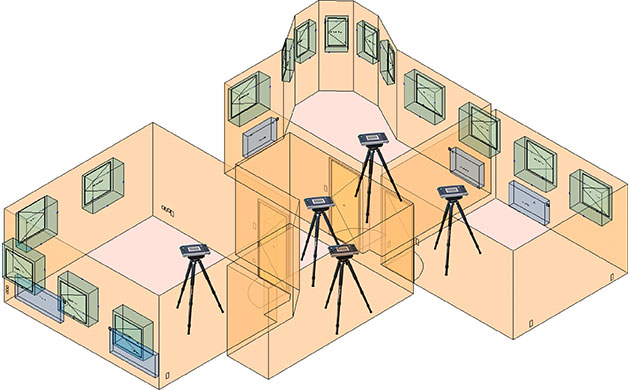
Flexijet 3D offers the change of location for situations where it is not possible to record all measuring points required for the measurement process from one location or if you required to also capture adjacent rooms in the same drawing.
Based on two reference points, which can be reached from both locations, the Flexijet 3D can be reoriented and the measurement process can be continued.
Whole floors or buildings can thus be easily captured in a single CAD drawing.
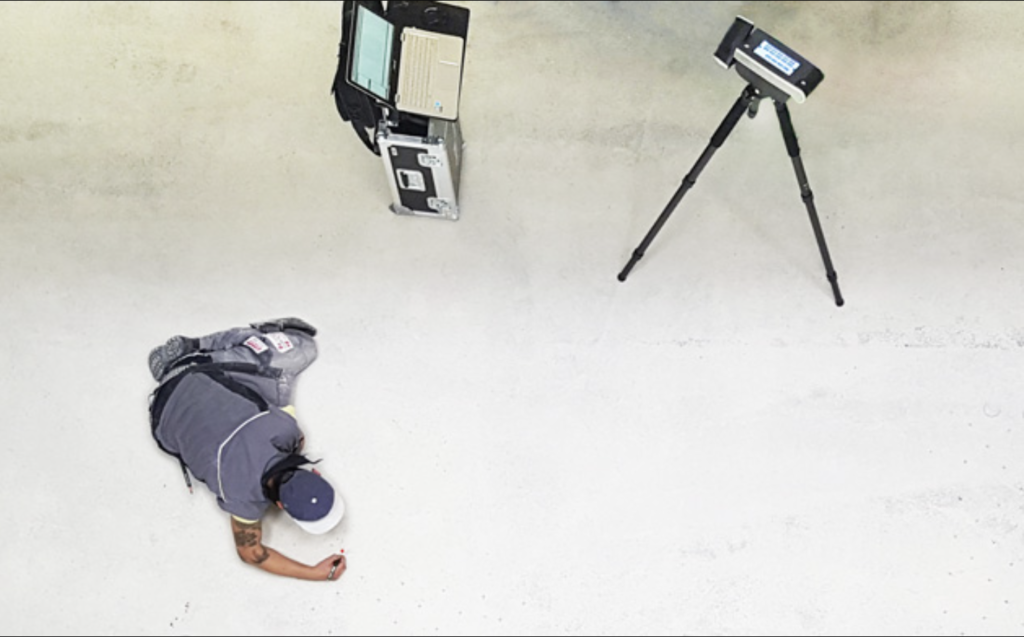
Rear projection of CAD points from the planning
– installation efficiency with the Flexijet 3D
Thanks to the laser-accurate measurement, Flexijet users produce precision fitting components which only need to be mounted on site. With Flexijet 3D, the on-site assembly can once again be significantly accelerated using the rear projection of CAD points from the planning program.
To accomplish this, the three-dimensional CAD data from the planning software is imported into the FlexiCAD measurement software. Flexijet 3D can be referenced based on existing reference points to a previous measurement location.
Now, planned drilling and mounting points can be automatically approached and displayed by the Flexijet 3D laser. Elaborate soldering or calibration is eliminated completely.
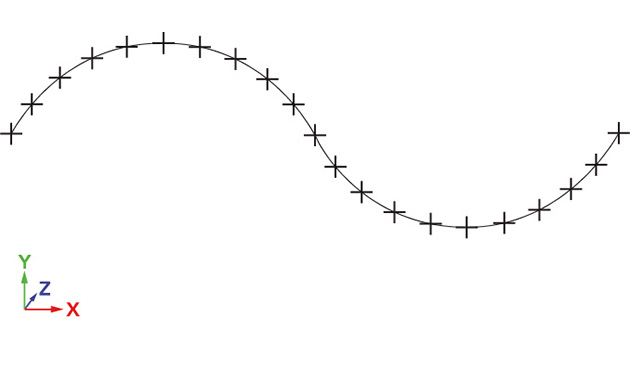
Automatic Series of Measurements
– Detection of contour progressions as if by magic
After defining a starting point, the direction and the desired point distance, Flexijet 3D automatically measures the course of the wall. The automatic measurement series includes horizontal, vertical and free measurement series along any path.
With the vertical series of measurement you can for example measure boat hulls fully automatically.
Horizontal measurement series can be used, for example, to determine the curved course of walls.
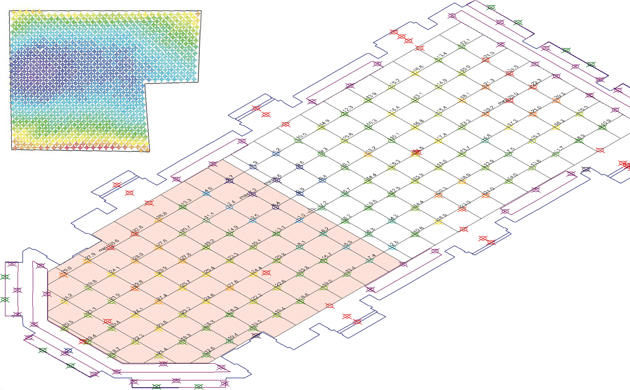
Surface Scan
– detect unevenness of surfaces automatically
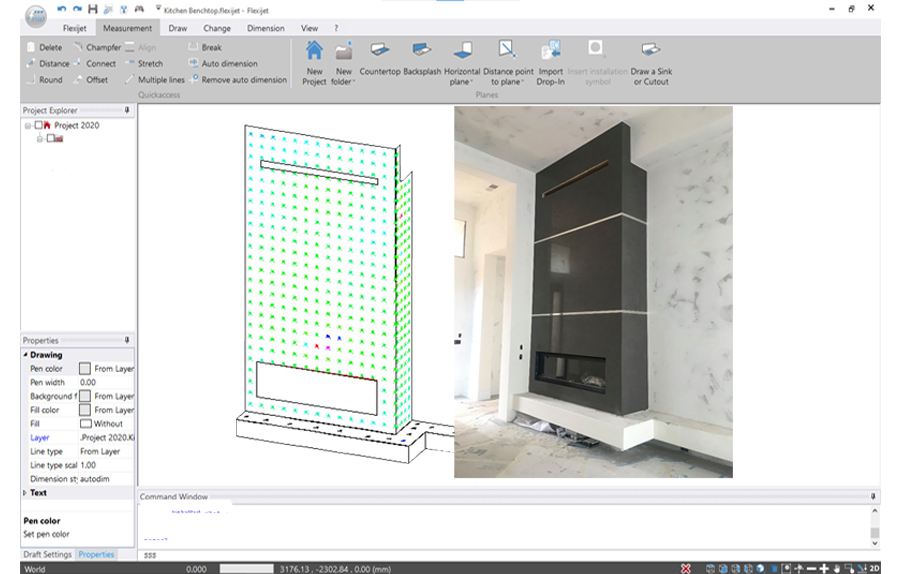
By drawing or measuring any closed contour and then superimposing a hatching, the “surface scan” command can automatically measure all intersecting points of the hatching.
The different heights are indicated in color. This makes it easy to see in the FlexiCAD measurement software how uneven a surface is.
 THE FLEXIJET 3D HARDWARE
Well thought-out from A to Z – awarded in the Red Dot Design Award 2018
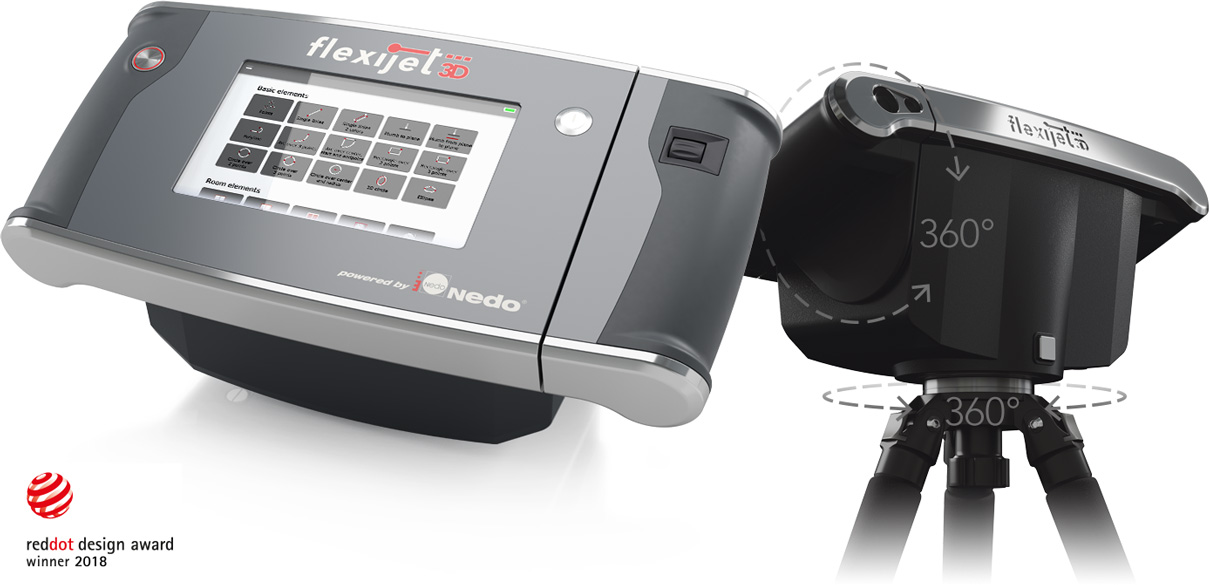
The ergonomic measuring hardware of the Flexijet 3D laser measuring system integrates all electronic, optical and mechanical components in one and was distinguished with the globally recognized Red Dot Design Award.
At its core, Flexijet 3D is based on a laser distance meter, which in combination with the rotary / swivel unit detects exact coordinates and transfers them to the system’s own 3D measuring software “FlexiCAD”. The 7-inch touch display allows the selection of CAD drawing commands and software functions directly on the measuring device, without having to switch to the measurement computer.
The measuring system is ready to use in a few simple steps. The Flexijet measuring hardware independently provides a WLAN in order to establish the direct connection to the FlexiCAD measurement software. Even cumbersome alignment of the tripod using the level indicators is superfluous with Flexijet 3D. The integrated tilt sensor ensures that you can start with your measurements immediately.
An essential feature of Flexijet 3D is that it can be operated both manually and remotely. The rear projection and the approach of points is performed by powerful and highly dynamic motor coordination.
Measurements can be triggered by a touch sensor on the housing, by remote control or by pressing a button in the FlexiCAD software.
In addition to the image documentation, the 5 megapixel camera allows the optical target selection by crosshairs in the live picture of the camera. This allows the measurement capture even in strong sunlight when the laser spot is no longer recognizable with the human eye.
If the device is bumped or moved during a measurement situation, an integrated shock sensor will register it and reports it immediately to the device and to the measuring software. The Flexijet 3D can be re-aligned in the drawing by re-measuring already known points and the measurement can be continued seamlessly.
The average battery life is about 8 hours, depending on the motor usage. On the display of the Flexijet as well as in the software you will see the remaining capacity. A recharge of the battery during operation is possible at any time.
Flexijet Software
Some features of the FlexiCAD software:
The CAD for on-site measurement and an interface direct to your planning software
The FlexiCAD measurement software provides a logical and intuitive user interface. CAD-experienced users find their way around immediately and even beginners are at home within a short period of time.
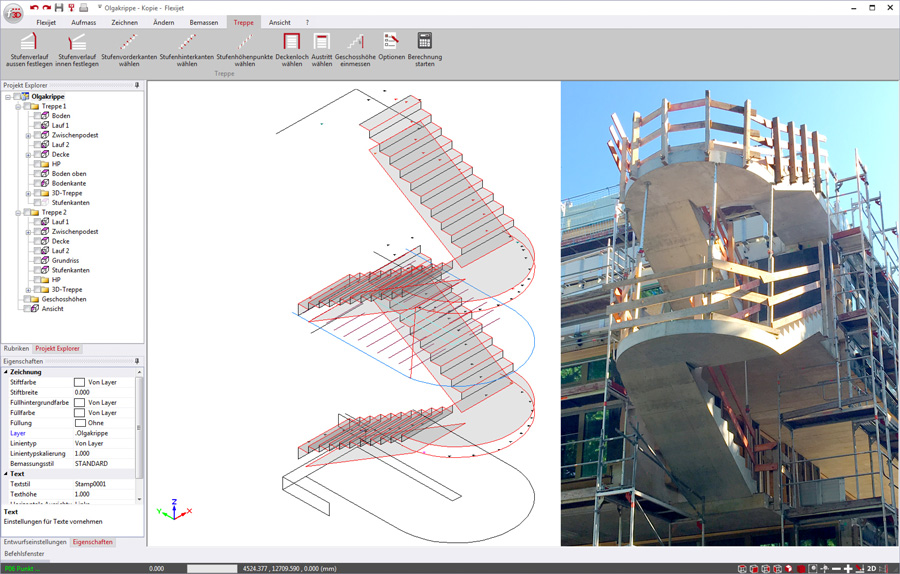
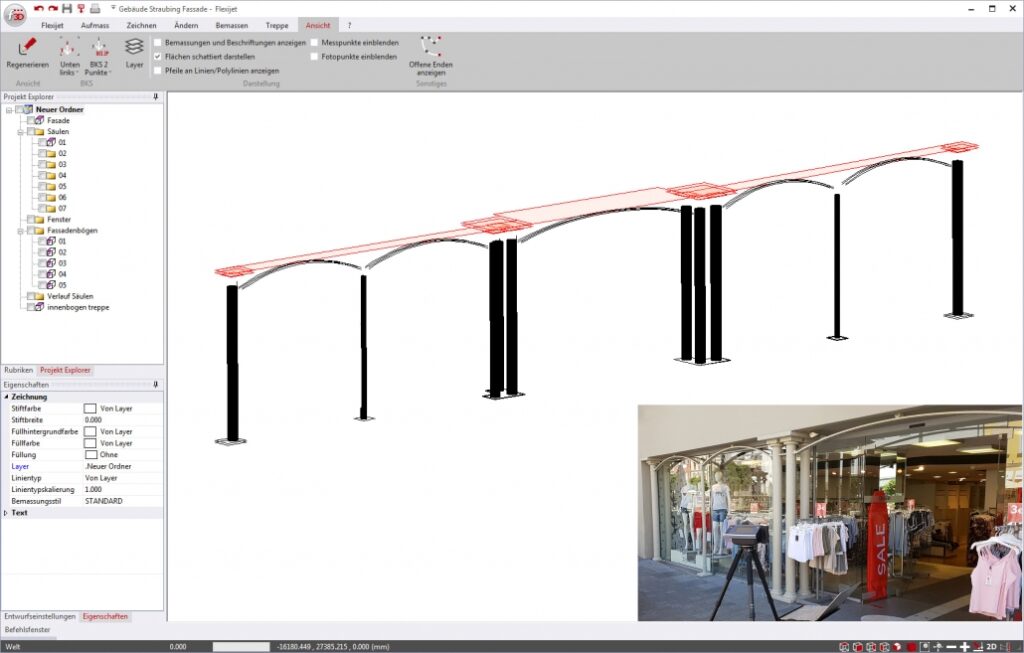
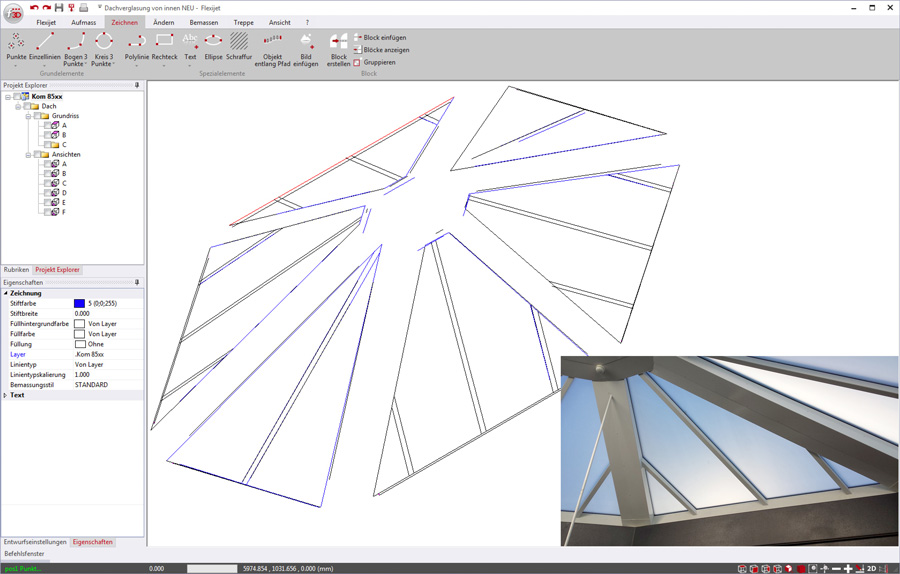
The task of the software is the creation of an efficient and practice-oriented CAD measurement directly on the construction site in. Numerous functions are specially optimized for measurement and offer maximum efficiency. With each dimension taken, you can see how your measurement drawing is completed and thus ensure that all planning-relevant measurements have been taken before leaving the construction site.
Through a variety of export interfaces, the data can be transferred directly to your CAD software. Parallel to this, some planning programs support a direct integration of the Flexijet hardware.
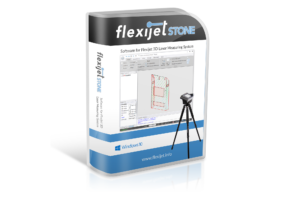
FlexijetSTONE is in essence a customised version of the fully featured FlexiCAD software.
It has been specifically customised for the stone and countertop industries and while it is predominantly used for scribing 2D surfaces, it still retains essential 3D capabilities. Some notable features are:
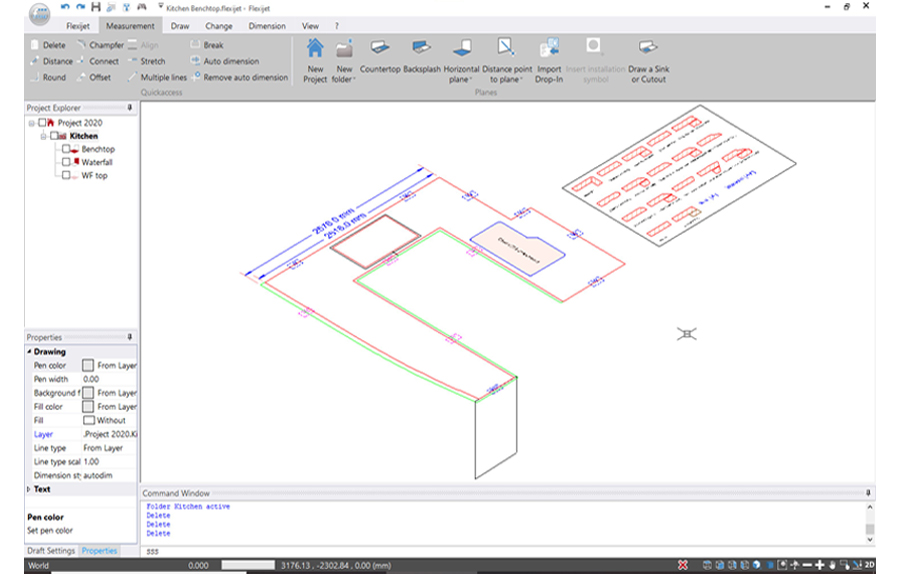
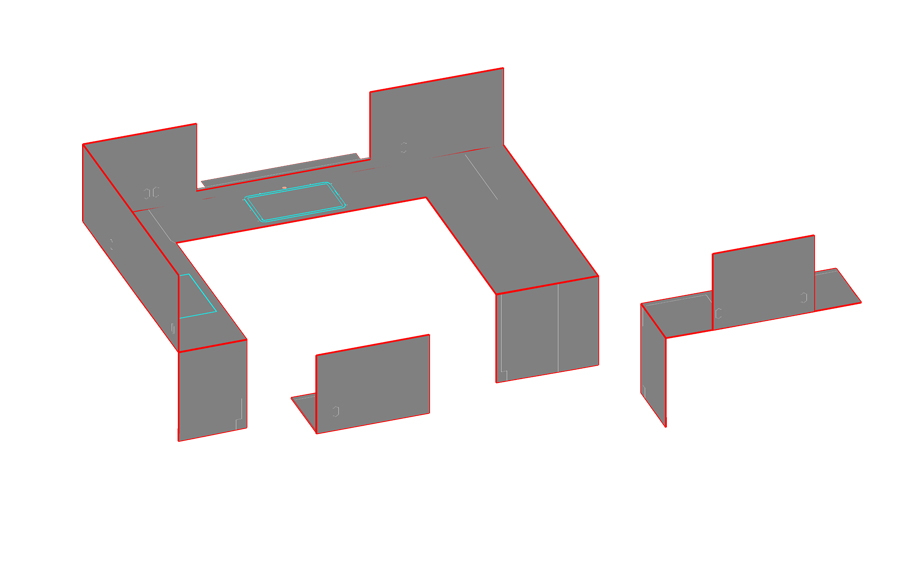
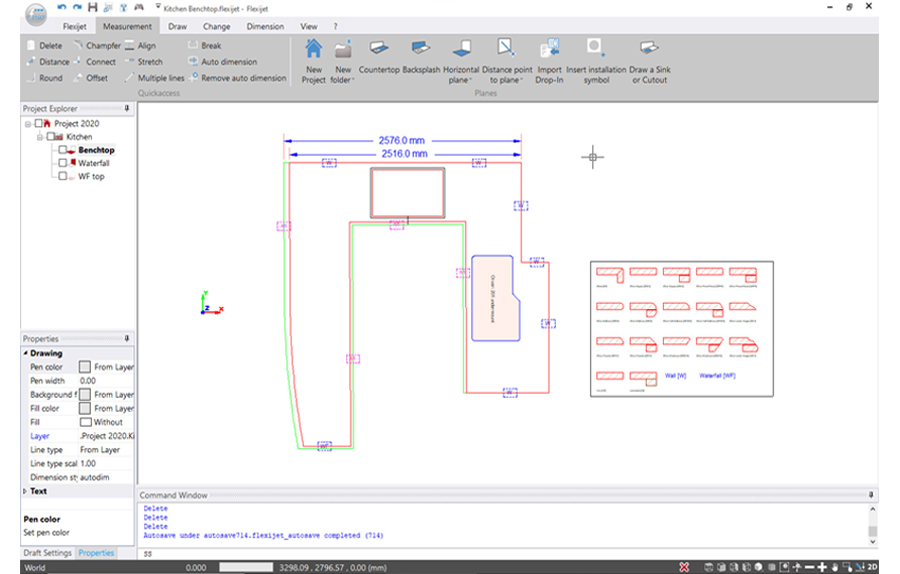
- Measure in 2D, see in 3D. FlexijetSTONE software makes it easy for both novice and advanced users to measure in 2D, and will display the results of multiple surface measurements combined in 3D.
- Touch mode… ability to operate the FlexiCAD measurement software either by a touch enabled Windows tablet or a Windows laptop with mouse.
- The ability to record voice memos – easily record conversations to ensure that every detail is recalled.
- Intelligent functions that provide a single click to set up a countertop measurement and a single measurement to set a countertop plane.
- Polar tracking, snap and grid functions.
- Dimensioning with freely definable dimensioning styles.
- With each measurement point, Flexijet 3D saves a photo taken by the built-in digital camera.
- Flexijet can accurately tell you the level of cabinets, walls, and other surfaces right from the Flexijet laser. Identify high and low points ahead of time, and plan accordingly so that your installations are as easy as your measurements.
- Easy creation of symbol libraries with user customised symbols for electrical, sink and others.
- Optimal user interface for CNC machining.
Flexijet 3D is the most innovative 2D laser templator available.
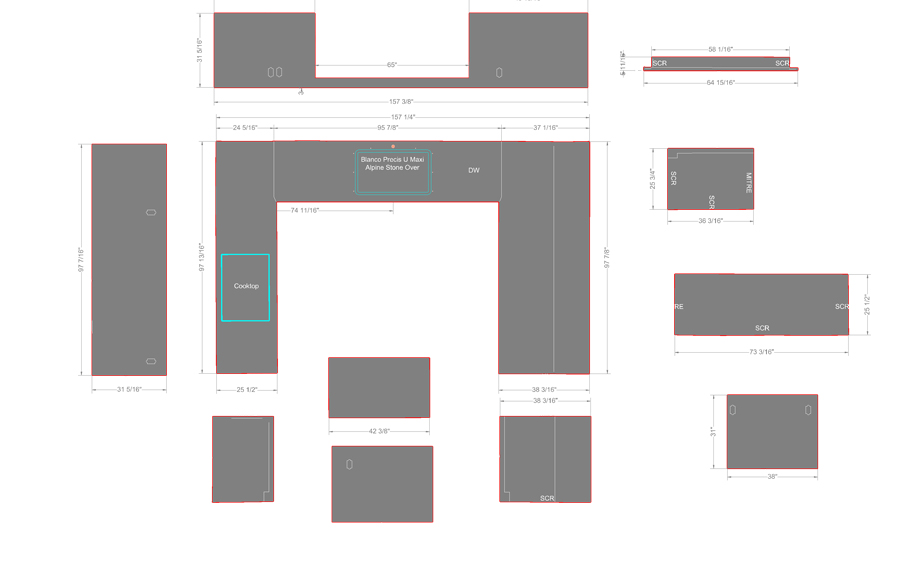
FlexijetSTONE software makes it easy for both novice and advanced users to measure in 2D and will display the results of multiple surface measurements combined in 3D. Easily create CNC ready files with overhangs, sink & GPO cutouts and many other custom requirements with ease.
Manual templating is now forever relegated to the past. The digital templating capabilities of Flexijet 3D will improve your accuracy and ultimately save you time and money.
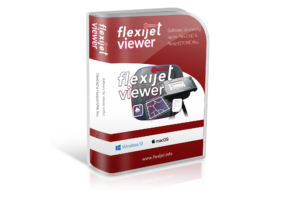
For FlexiCAD and AutoCAD users
FlexiCAD users can use the software for more comfortable viewing and post-processing of their measurements. For this purpose, Flexijet Viewer can be started from inside FlexiCAD and runs in conjunction with FlexiCAD. For example, on another display or within a local network on another PC.
On one display the user works with FlexiCAD as usual, on the second display all images of an active folder in FlexiCAD can be shown as an overview, or as a single image via Flexijet Viewer.
The interaction of CAD software and Flexijet Viewer is also available for AutoCAD and AutoCAD-based applications. Flexijet Viewer can display hyperlinked images of a DWG or DXF file directly from a measurement also via LAN.
Flexijet Viewer is a free viewing program for measurements and photos collected with Flexijet 3D Next Generation measuring system and packaged for Flexijet Viewer using FlexiCAD 3.1 and later.
It offers the ability to view measurement drawings with all included photos and measurement point images. Furthermore, additional data can be added to the measurement when packaging it in FlexiCAD.
For example, you can add a DXF export of the measurement file, additional site photos and descriptions, a design plan, or quotation in any file format. In one clear package a whole collection of files can be handed over to colleagues or customers for viewing and approval in Flexijet Viewer.

Measuring with only one person
Millimeter-accurate 3D capture of any shapes, geometries and complex spatial situations
Continuous and exact detection of all angles
Simple operation without cumbersome leveling of the tripod
Never again wrong or forgotten measurements and transmission errors
Immediate on-site graphical control
Limitless positioning through change of location via reference points
Area and space calculations directly after measuring the relevant points
Fabrication of templates is not required
360° vertical and horizontal measurement without limitation
With the ARCHICAD AddOn and the Flexijet3D laser measurement system, you can create component-oriented BIM building measurements in GraphisoftsARCHICAD
Measure, draw and model in one step on site directly in ARCHICAD.
The measuring device is simply set up in the room, and integrated tilt sensors level the Flexijet 3D fully automatically. You can start measuring immediately without having to align the stand.
The movement of the laser and the triggering of measurements can be done on the device as well as with the remote control or via FlexijetSmart Remote App (iOS & Android).
In addition to the visible laser point, the live image of the integrated camera, with parallax compensation and superimposed crosshairs, is available on the 7-inch display. This enables precise targeting of even distant measuring points, even in difficult lighting conditions.
Flexijet 3D provides a stable WLAN connection to your notebook with ARCHICAD for data transfer.
Each measured point is immediately transferred to ARCHICAD and linked to a drawing command. In this way, you can see how your model grows and gains in detail with every measurement.
Stairbox
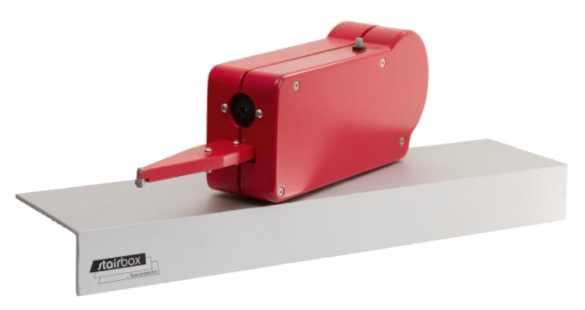
The “Measurement drawing” of individual step contours directly into the staircase software makes step measurement “child’s play”.
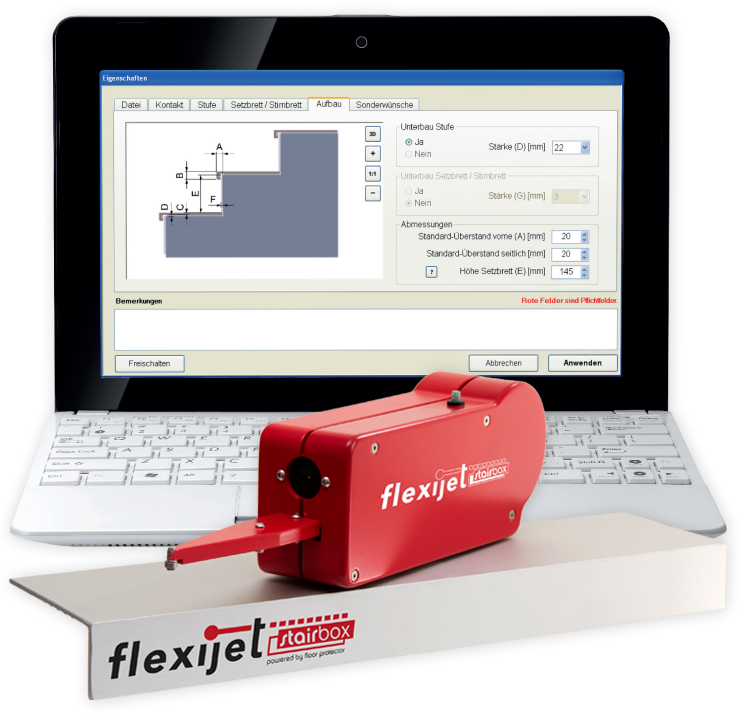
THE NEW ELECTRONIC STEP MEASURING SYSTEM
The Flexijet Stairbox is a step measuring system that allows you to create exact CAD staircase dimensions in a fraction of the time you would normally need.
The Stairbox measurement unit detects the measurement coordinates of the measuring tip with very high accuracy and then transmits them via Bluetooth connection to the netbook with the Stairbox software. The determined step parameters are displayed in real time in the software, which allows an immediate visual control – forgotten or erroneous measurements and transposed numbers are thus a thing of the past.
THE STAIRBOX STAIRCASE SOFTWARE
– fast, error-free and efficient work!
The intuitively operated Stairbox software records all relevant project data. Thus, number and type of steps, as well as specific dimensions such as riser height and nose or side overhang as well as material can be selected.
The course of the measured staircase is immediately displayed as a 2D model for your visual evaluation. For quick data exchange with your production department, the Flexijet Stairbox provides the data exchange format “DXF” for transfer to a CAD application. In addition, the course of the measured steps can also be created as a PDF file.
You can also perform an immediate revision of the measured steps in the Stairbox software during the measurement process. The individual step elements can be individually adjusted by moving, adding or deleting measuring points. All edge lengths and angles are displayed and your changes are updated immediately. Also, edge properties of individual step elements can be individually adapted and are visibly displayed immediately.
If desired, you can also manually create step elements by direct entry of the dimensions and insert them seamlessly into the Flexijet Stairbox measurement. This creates a quick measurement with the greatest possible reliability!
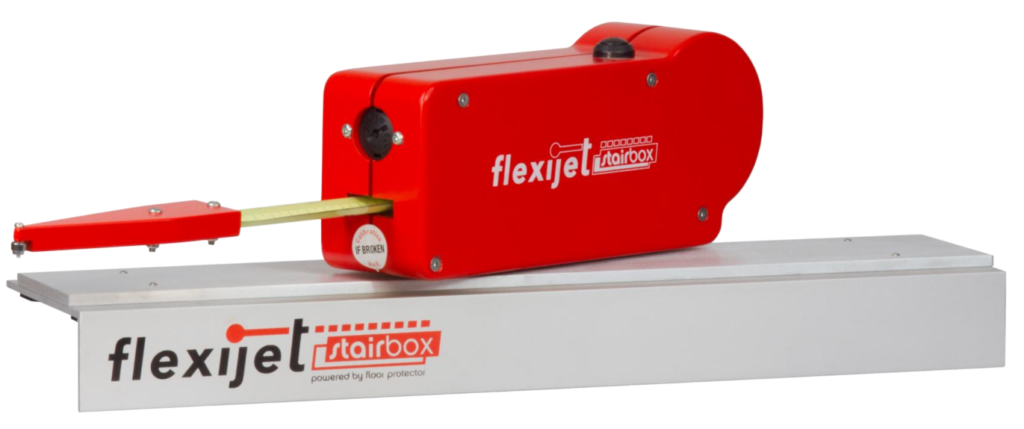
FLEXIJET STAIRBOX360°
… if you want to measure more!
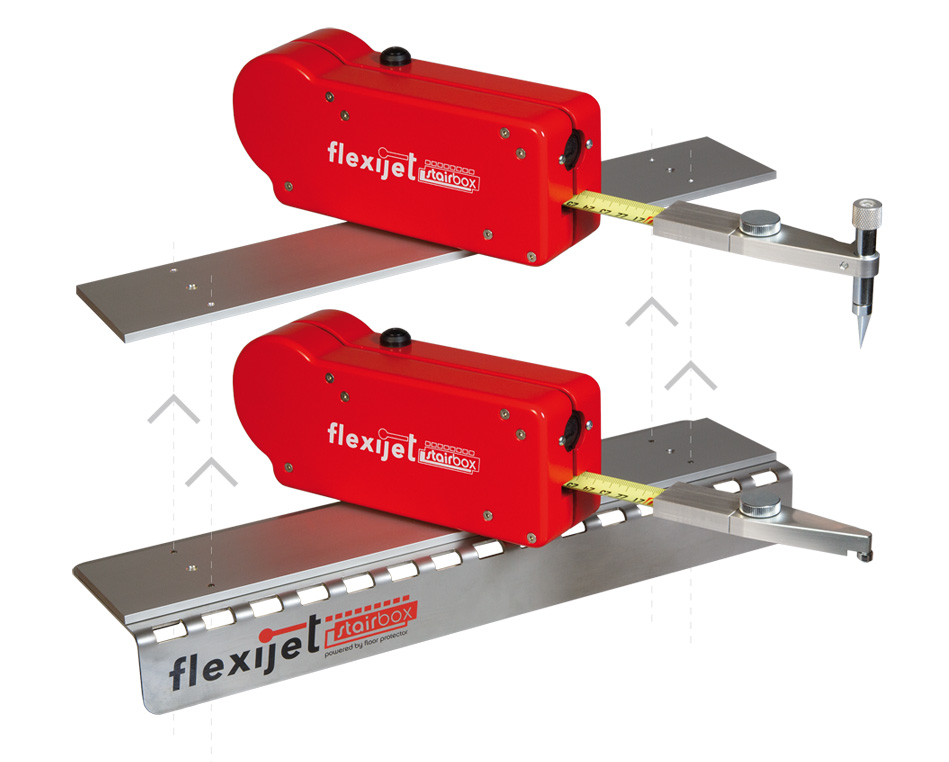
With the Flexijet Stairbox360° –
in addition to stairs, i.e. in addition to the application of the classic Flexijet Stairbox “Staircase version” – also templates, countertops, sink cut-outs, window / door cut-outs and many other objects can be measured in a two dimensional representation.
For this purpose, the measuring head of the Flexijet Stairbox360° can be removed from the angled stop bar and placed centrally on the surface to be measured.
The detection then takes place in 360 degrees, around the Flexijet Stairbox360°. Each individual measuring point is immediately available in the CAD software.
THE 2D MEASUREMENT CAD OF THE STAIRBOX360°
In addition to the classic Stairbox software which is optimized for the simple measurement of steps and staircases, the Stairbox360 ° model, is delivered with a 2D edition of our FlexiCAD measurement software.
In this special 2D measuring software of the Flexijet Stairbox 360°, both point and contour measurements can be recorded in 360 degrees around the measuring device, without the zero point referring to the stop angle of the Stairbox. Various CAD drawing commands allow the linking of several measuring points to meaningful geometries, so that an immediate control between drawing and reality can take place. In addition, the allowance CAD offers useful functions, such as: For example, the intersection of lines and automatic dimensioning.
Measured data can then be transferred in various CAD formats to planning programs, direct to the CNC or the plotter.
